
- 05th Nov '25
- KYC Widget
- 15 minutes read
Enhance Your Site's Performance with Web Image Optimization Tips
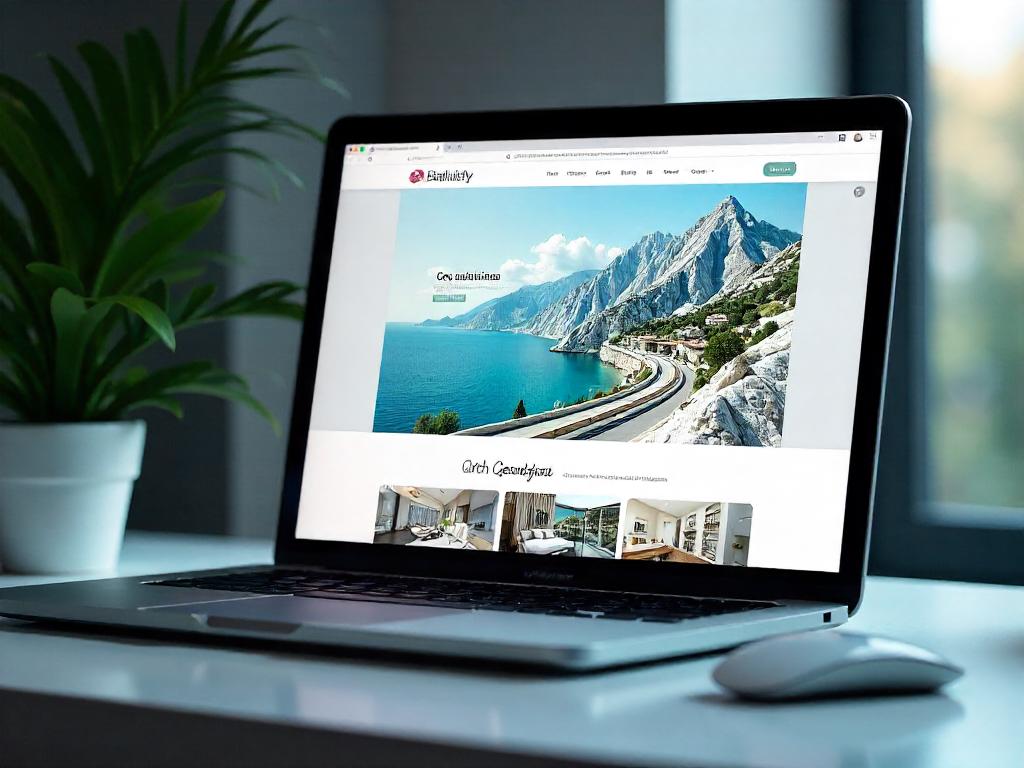
Let’s chat about image optimization. You know that one time you tried uploading a photo to your website, and it took forever? Or worse, it looked like a potato? Yeah, that was me last week. It's like trying to fit a giraffe into a Volkswagen—just doesn’t work! Optimizing images is essential for our online lives. Whether you're a seasoned pro or someone who just discovered filters on social media, this process can save you time, boost your site speed, and maintain that sharp quality we're all after. Trust me, nothing ruins a killer blog post like a fuzzy image looking back at you, right? So, let’s roll up our sleeves and figure this out without pulling our hair out in the process. You’ll thank me later when your website starts loading faster than a coffee addict on a Monday morning!Key Takeaways
- Image optimization speeds up your website, improving user experience.
- Using the right tools can make the process a breeze.
- It's crucial to maintain image quality while compressing files.
- Simple techniques can lead to big results, like using proper file formats.
- Regularly review and update your images for best performance.
Now we are going to chat about image optimization and its essential role in web development. Trust us, it’s a topic that can make your eyes glaze over faster than watching paint dry, but we promise there are some fun nuggets in here!
Understanding Image Optimization
Image optimization is all about shrinking those hefty files without sacrificing an ounce of quality. Imagine biting into a delicious cupcake only to find it’s stale; that’s what slow-loading sites feel like to users!
When we think of images, we often picture high-resolution photos taken with fancy cameras. But here’s the kicker: while they look stunning, they can turn our websites into sluggish tortoises, taking forever to load. The trick is finding that sweet spot— optimizing images by adjusting their sizes and using clever responsive techniques means we can keep quality in check without sending ourselves to the slow lane.
Why Image Optimization Matters for Websites
Let’s break it down — here are a few snazzy advantages of why we should all care about image optimization for our sites:
- Speedier page load times: Optimizing images means your site zips along like a sports car. Less bandwidth usage translates to a more pleasant experience, especially for those poor souls on limited data plans. The faster, the better!
- Boosted user experience (UX): Users who enjoy a seamless experience tend to stick around. Quick-loading pages lead to fewer bounce rates. It’s like offering someone a warm cookie instead of a cold, hard rock — they’re definitely going to come back for more!
- Improved search engine rankings: Did you know Google could be a bit picky? They consider speed as a big deal when ranking websites. If our sites load quicker, we might just find ourselves climbing those search result ladders faster!
With Google’s push towards putting mobile performance in the spotlight, the pressure’s on! Optimized images are the backstage pass we need for a smoother mobile experience, which Google happily sees as a sign of a quality site. No one likes to play hide-and-seek with a page that takes ages to load!
So, let’s take a moment and embrace the art of image optimization. We can give our websites a little TLC, speed them up, and create a delightful experience for our visitors. Who wouldn’t want to turn their site into a digital playground?
Next, we're going to chat about image optimization for the web. It’s a pretty vital skill for anyone running a website today. After all, nobody wants their website looking like a 90s dial-up horror show, right? Let's break it down into nine simple steps to make your images load faster and look sharp without breaking a sweat.
Simple Steps for Image Optimization
1. Pick the Right Image Format
Choosing the correct format for your images is like picking the right shoes for a marathon. Get it wrong, and you’ll be limping halfway through the race! Here are the go-tos:
- JPEG: Great for those vibrant photos with a splash of colors. Just a heads up – it plays fast and loose with quality.
- PNG: Your best pal for logos and images that need a transparent background. It’s a bit of a file hog but worth it for the clarity.
- WebP: New kid on the block! High quality and smaller sizes. Just make sure your audience can view it.
- SVG: Perfect for graphics that need to scale without quality loss. Think flexible like a yoga instructor.
- AVIF: Offers sleek images but isn’t universally embraced yet. It's like the hipster of formats; only a few appreciate it!
Let's face it, if your background image isn't a detail-oriented masterpiece, go ahead and roll with JPEG. For buttons? PNG or SVG all the way!
2. Resize and Crop Like a Pro
Big images are like the overenthusiastic friend who shows up uninvited to every party. Resizing helps keep things manageable. Use tools like Adobe Photoshop or free options like Pixlr to avoid nightmare scenarios of pixelation!
Pro Tip:
Start with the highest quality and then downsize. If creating a responsive website, make multiple versions for various screen sizes.
Cropping
This is all about focusing on what matters. Remember to maintain the aspect ratio so that your image doesn’t end up looking wider than a football field.
3. Compress Those Images
Compression is like going on a diet for your images. Consider lossy for good old JPEGs when you can handle minor quality drops. You’ll need tools like TinyJPG for that.
Lossless Compression
If clarity is your jam, go for lossless! It keeps your image intact but makes it smaller. Tools like GIMP can save the day.
4. Optimize the Color Depth
Fewer colors? Smaller files! But don’t go too far with photos unless you want banding. Tools like Adobe Photoshop help to play around with this without losing quality.
5. Responsive Images: Be Adaptable
Displaying larger images on smaller screens? That's just wasteful. Use the srcset attribute to automatically deliver the right image based on a device’s screen size.
6. Test Image Performance Regularly
Tools like Google PageSpeed Insights can tell you if your site is wheezing under image-heavy loads. It’s all about loading time, bandwidth usage, and requests!
7. Name Your Images Wisely
Search engines can’t see images; they read names and alt tags instead. Use keywords naturally to bolster your SEO game.
8. Implement Lazy Loading
Want a speed boost? Lazy loading ensures only necessary images load at first, like a chef who only preps ingredients as they’re needed!
9. Use CDNs to Supercharge Delivery
Content Delivery Networks (CDNs) can drastically help with image delivery speed. Want global reach? A service like Cloudflare can cache your images like a pro!
And there you go! With these nine simple steps, we can take your image optimization skills and take things up a notch. Navigating the digital world without image optimization is like attempting to bake a cake without flour; good luck with that!
Now we are going to talk about some effective strategies to keep our images looking sharp and vibrant, ensuring that they always shine, whether it's for a family album or a professional project.
Effective Tips for Preserving Image Quality
 As anyone with a smartphone can tell you, taking a stunning photo these days feels like it's written in the stars—until we see it on a bigger screen. Suddenly, that glorious sunset looks more like a watercolor gone wrong! Fear not, though! We can keep our images looking spectacular with a few smart moves. So what can we do? Let’s break it down:
 - Use the original resolution.
- Compress appropriately.
- Choose the right format.
- Consider color profiles.
- Regularly back up your images.
| Tip | Description |
|---|---|
| Resolution | Always maintain the original resolution when saving or sharing images. |
| Compression | Use reputable software to compress images without sacrificing quality. |
| Format | Select the right file format based on the purpose of the image. |
| Color Profiles | Utilize proper color profiles for consistency across different devices. |
| Backup | Regularly back up images to prevent data loss from accidents. |
Now we are going to talk about some truly impressive image optimization tools that can save us time and enhance our projects.
Top Tools for Image Optimization
Have you ever dropped a massive image into a presentation, only to watch your computer freeze in sheer panic? Yeah, we've all been there. That's why using the right image optimization tools is like having a magical broomstick to sweep away those pesky file sizes. These tools store both our sanity and space! Here’s a quick list of some great options to consider:- TinyPNG - This little gem compresses PNG and JPEG files without sacrificing quality. It's like magic, minus the Hogwarts enrollment paperwork.
- ImageOptim - A favorite among Mac users, this app effortlessly shrinks images by removing unnecessary metadata. It's like a personal trainer for your photos — trims the fat!
- Optimizilla - A browser-based option, allowing us to tweak quality before downloading the optimized version. It’s like trying on a dress before buying it—only with pixels.
- Kraken.io - With its user-friendly interface, it handles bulk uploads like a champ. No more fumbling with 100 files one by one!
Now we are going to talk about ramping up our websites with image optimization. You might be surprise how a few tweaks can do wonders!
Kickstart Image Optimization For Your Website Today
Remember that time we clicked on an article, and it loaded slower than molasses in January? Frustrating, right? When images don’t cooperate, visitors bounce faster than a rubber ball. Let’s chat about why image optimization is essential for our websites. - Speed is king! - User experience matters. - Search engines love optimized images. Now, we’ve all been guilty of uploading high-res images. They look crisp and beautiful, don’t they? But here’s the kicker: it’s like trying to fit an elephant into a cramped elevator. We aren’t just trying to impress others with stunning visuals — we’re building speed and efficiency. So, how do we tackle this? First off, let’s talk about formats. JPGs are great for photos, while PNGs bring the magic with transparency. We should also remember to resize images before we upload. Can you imagine uploading a photo of your cat lounging with dimensions fit for a billboard? Yeah, that’ll turn our webpage into a snail. Compression is another key player. There are handy tools out there, like TinyPNG, that can shrink our image size without losing quality. We can also consider using modern formats like WebP. It’s like upgrading from a flip phone to the latest smartphone. This new tech allows for crisper images at smaller sizes, all while minimizing loading times. Now, while we’re on the topic, let’s get a little geeky and discuss alt text. Not only does it provide context for our images, but it also helps with SEO. A little SEO knowledge can go a long way in getting our website in front of the right people. Here’s a quick list of the steps to optimize our images: 1. Choose the right format. 2. Resize images before uploading. 3. Use an image compression tool. 4. Implement modern formats like WebP. 5. Add alt text for SEO. By following these steps, we can make our websites faster and the experience for visitors much smoother. And really, who doesn’t want a happy visitor? Like they say, happy customers come back. There are various resources available that provide more detailed guides. For instance, this article over at [Smashing Magazine](https://www.smashingmagazine.com) breaks down image optimization into bite-sized chunks. So, let's roll up our sleeves and get to optimizing! After a bit of effort, we’ll have our sites loading like lightning. Keep that rubber ball bouncing and our web visitors smiling!Conclusion
In conclusion, crafting the right approach to image optimization isn't just smart; it's essential in the digital jungle. By implementing these steps, your website can draw more visitors in, and keep them engaged longer. So, let the tips and tools we've explored today guide you in turning your site from a tortoise into that speedy hare! Remember, even the most stunning visuals won’t cut it if they slow down your site. Keep experimenting and refining your technique like you would in a cooking class—minus the fire alarm, hopefully! Happy optimizing!FAQ
- What is image optimization?
Image optimization involves shrinking image file sizes without sacrificing quality to improve website loading times and user experience. - Why does image optimization matter for websites?
It leads to speedier page load times, boosts user experience, improves search engine rankings, and helps with mobile performance. - What are common image formats to use?
Common formats include JPEG for photos, PNG for logos, WebP for high quality and smaller sizes, SVG for scalable images, and AVIF for modern use. - How can I resize and crop images effectively?
Use tools like Adobe Photoshop or Pixlr, ensuring to maintain the aspect ratio to avoid distortion while focusing on the essential parts of the image. - What is the difference between lossy and lossless compression?
Lossy compression reduces file size significantly but may decrease quality, while lossless compression reduces size without impacting the image quality. - What are responsive images and why are they important?
Responsive images adapt based on the device’s screen size, ensuring optimal loading and viewing experiences without wasting bandwidth. - How can I test image performance on my website?
Use tools like Google PageSpeed Insights to evaluate loading time, bandwidth usage, and overall performance of your images. - Why should I name my images wisely?
Search engines read image names and alt tags, so using relevant keywords can improve SEO and help your images rank better in search results. - What is lazy loading?
Lazy loading is a technique that delays loading images until they are needed, helping to improve initial page load speeds. - How can CDNs help with image optimization?
Content Delivery Networks (CDNs) cache images globally, which enhances delivery speeds and reduces load times for users accessing your website from different locations.